I started to assemble the bus engine as I posted earlier. I stared cleaning the pistons and cylinder to be ready to get them installed. I also started cleaning the heads to bolt everything together. I cleaned the 3/4 side head and found a crack from the spark plug hole to the valve. This is not good. I then inspected the other head and found cracks also from the spark plug to the valve on both sides. This make these heads trash.
I have another set of stock heads in my storage. I inspected these and found they do not have cracks. However, they are stock. The heads I was going to use have bigger valves and have had porting to breath better. I will have the stock heads worked on by Audirac and have him install bigger valves and do some porting. Unfortunately, I don't have money at this time to do these things. Therefore, everything stops now on the bus engine. Just when I was gaining some momentum.
However, I do have two interviews this week that look promising for once. I have some interviews in the recent past but did not materialize into a job. One of the interviews will be my second with the particular company. I am sure it will narrow a field of a half a dozen or more candidates to a couple or three. I am hoping to get into the group of 2 or 3. The other also looks promising as I will be meeting with the owner face to face. We have been talking for the past couple of weeks. Either job will be a good one, I just hope that at least one makes an offer. It would make a great Christmas present.
Well that's all for now. Merry Christmas and Happy New Year to everyone and your families.
Monday, December 21, 2015
Wednesday, December 2, 2015
Finally getting somewhere with the bus engine
My bus has been down for about 4 years now and I am itching to get it going again. There is a lot of work to be done. I need to put together the engine, restore the gas tank, replace all fuel lines and make sure the brakes are in working order. Most of this stuff is going to cost dollars which I do not have right now due to my job situation.
I have most of the engine parts already and have procrastinated at putting it together. I finally got started at putting the engine together. At least the short block is done. I closed the case this past weekend. I am getting the pistons and cylinders ready to install along with the heads. After that I will need to start spending money on valve train parts so things will slow down until I get a job. But I feel good that this has started.

The distributor is a 019 with a pertronix ignitor inside. I don't want to mess with points and condenser. I also have a beefed up generator stand. I have broke one in the past. This one is pretty bullet proof. I also have 30mm oil pump due to the remote oil filter and cooler that needs to pumped. The berg cover has a pressure relief just in case of too much oil pressure.

This case has been strengthened by welding behind the #3 cylinder and shuffle pins. I had this done a few years ago. The case was a type 3 case converted to a type 2 case. I had to add the bolt for mounting, dipstick and open the mount holes for the stock oil cooler. I also tapped all the oil galley plugs. Hopefully this case will be solid.

You may notice to the right below the distributor, there are two ports that are duct taped over. These ports were also added when the case was strengthened. This is a full flow modification that my machinist added which I have used in other cases. I like the mod.

That is what I have so far. I should get the piston, cylinders and heads on soon. So I will post once that happens.
Monday, November 30, 2015
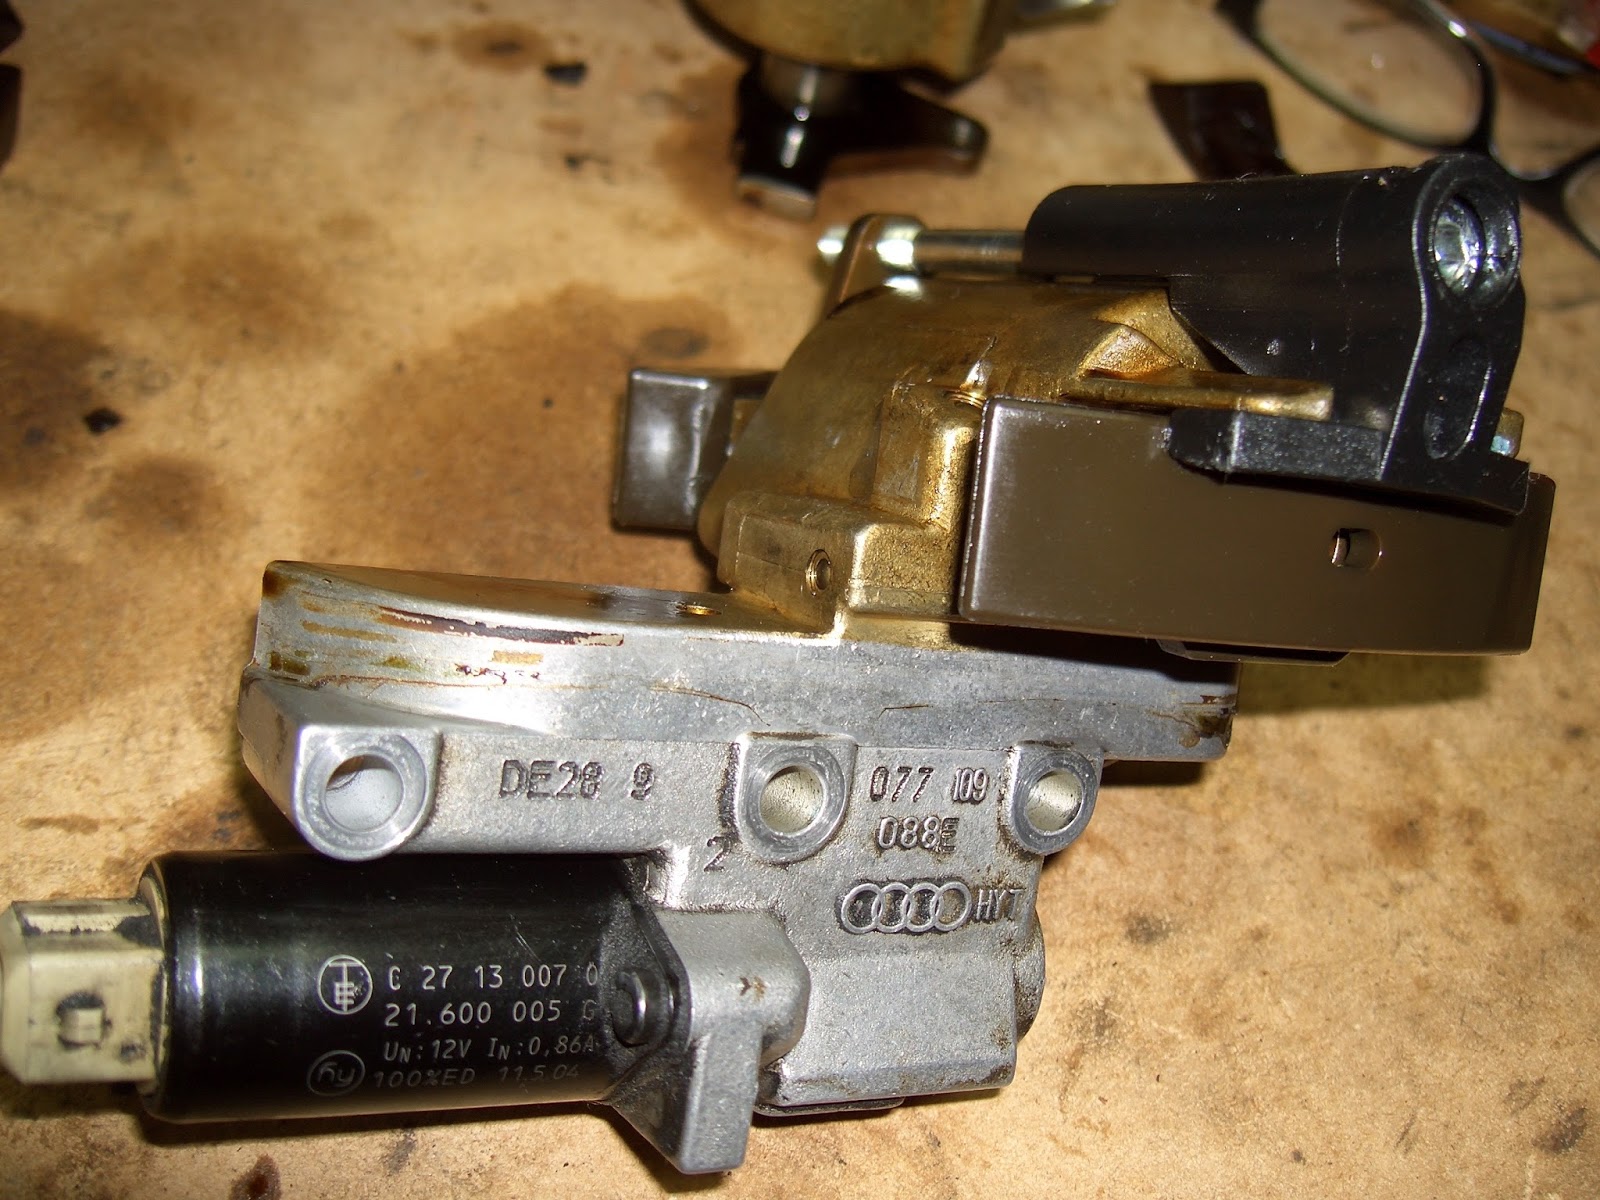
Sticking intake flap levers Touareg V8
The levers that move the flaps that are inside the intake of my Egg were sticking causing sluggish acceleration. Recently was getting some really bad gas mileage also so I am hoping that this is the culprit. I found a site online that helped me get through the process of freeing them up. As you can see in the pictures below, I have the upgraded rods that connect the vacuum actuator to the lever. Also the lower actuator is not completely pushed out in these pictures because it is damaged and I had to replace it.


Today, the top lever was sticking to the point that It would not return completely to the position you see in the top picture. This is the way it should look when the engine is off. At idle, both vacuum actuators will be completely sucked in actuating the levers to the full open position.
The site I identified above states pretty much what to do so I will not go into the details of what I did. But I only worked on the top lever as the other lever was moving freely. Once I removed the lever and its holder, I used some multipurpose grease on the plastic shaft and the id of the housing. Installed it back together and the lever was moving freely.
After my test drive, I will see if this will help my gas mileage problem.
On an other note, those vacuum actuators wear out by getting a slit in them or some other type of vacuum leak. And that is what it becomes, a vacuum leak not to mention that your flaps will not will not work either due to no actuating. I found them on a Land Rover site for significantly cheaper than vw. Vw wanted several hundred dollars for each and there are no aftermarket that I could find. The Land Rover site wanted about $90 or so each. They are the exact same thing for the Land Rover except for a spring that is inside the bellow. I have found that the spring does not change the actuating action enough to change the performance of the Egg and I have been using the Land Rover parts for more than 50K miles now. The Land Rover used these for cruise control I believe.
Sunday, October 18, 2015
Replaced and balanced the tires on my XR650L
Well, I am trying to save some money by installing my own tires on my bike. I bought some tire irons and checked out a couple of videos online and went to work.
Below is the front tire removed. It was the original with the bike. Both are Dunlop. The new tires are D 606.

I static balanced the tires. Made sure that they did not stop in the same place when spun lightly.


Front axle parts.

I used an atv jack to hold the bike as you can see in this picture below.

Going back together.

The speedometer must go under the tab sticking out from he fork.

Now the back tire.


All done


I have read that these tires need to be broken in on the street. It is true as they are a little sketchy on the street when I test road the bike. I have road about 100 miles on the street and they seem to mellow out now. Now to get them on the dirt.
Wednesday, September 30, 2015
Replaced pads for cam timing chains and valve body for the transmission on my Touareg.
My transmission has not been changing gears very well for the past year or so. Hard shifts mostly. After reading what might be causing the problem, I went through with ordering a valve body from Revmax. I felt comfortable with it based on the feedback that I read. I received the valve body and needed to keep the box and packaging so I could send mine back get my core charge. I don't have pictures as I deleted them accidentally. It was not that bad of job to do and if you confident in your mechanical skills, you should be able to do it. There is plenty of help on the internet to assist you.
I completed replacing my valve body in my transmission and was testing it when I heard some disturbing noises (load clacking) coming from the engine. It seemed to be coming from the top of the engine under the valve cover. I was not really sure what it was so I started the process of removing my valve cover and found the pad for the cam chain tensioner broke apart. After a little research, I found that VW did not sell the pads individually. I had to buy the whole tensioner at a price of about $700 each and there are two (one each bank). I figured that the other side was not far from wearing out. So to the internet I went and found pads for about $25 a pair (two per tensioner) on eBay. I took a chance and bought two pair along with valve cover gasket kit to start this job.
This is not meant to be a how to do this job. It is just my experience of doing this. I do not have the time to take pictures all the way through these processes.
So I started removing valve covers and everything that needed to be removed.
This is passenger side bank.

I removed the coil packs and air cleaner box to make some room.

There are a lot of tubes that will need to be moved to remove the valve cover

The cam chain tensioner on the passenger side is in the back of the engine where the tensioner for the driver side in is the front. This is a picture of the passenger side.

Camshafts in place on driver side.

Camshafts in place on the passenger side.

You will need to remove the timing belt so I marked it so that I would reinstall it with the same orientation.

You will also need to remove the cam sensor for each intake cam. Passenger is in the front and driver is in the rear.

You will need to have the cam lock bar which fits onto the flange you can see here for both exhaust cams when removing the timing belt. These sprockets will need to be removed.

Driver side sprocket removed. The tensioner is in the upper left of the picture below.

Then you can start removing the caps that hold the cam in place. You will need to remove both cams on the driver side to get the tensioner out. I tried not to take both cams out but it was not happening.

Once the cams were out on the driver side along with the tensioner, you can see the marks made by the cam chain on the head. That is not supposed to be there. Otherwise it was pretty clean. I fished all the broken pieces from the head which I felt I was lucky to do.


This was the top pad.

This was the bottom pad. It was still in place when I removed the tensioner.

After removing the cams and tensioner, I realized it had jumped a couple teeth when the pad failed.

Below is the wear the chain created on the tensioner. Pretty ugly.


Then of course I needed to get the passenger side apart also.


Below is the wear that was on the passenger side tensioner pads. They were intact.


I did not want to buy new tensioner because I am cheap. So I welded the damaged tensioner to fill in the groves that were created from the chains. I then ground them to shape it.


This is the finished product with a new pad installed. Works for me.

Ready to install back into the engine.
The difference of a new pad and the passenger side old pad.

Passenger side cams and tensioner installed.

Driver side cams and tensioner installed.

From here, I just put everything else back together. I have been driving this fix now five months. About 10,000 miles. I believe it was a success.
Subscribe to:
Posts (Atom)